As I continue to pursue my 3D-printing hobby, I'm finding that I've improved my pre-build design work. Even on the standard, free Creality Slicer application that came with my entry-level machine, I've found I can really begin tailoring pre-existing designs I've found online, as well as creating my own unique models.
 |
| Layout of the Sliced Dodge Charger Design |
When I first began creating 3D prints, I stuck with free pre-designed files I could download from sites like Thingverse and Cults 3D. These sites provide open-source models offered by generous users who simply want to share their work with others. You simply create an account, download the 3D file you'd like to build and stick your new file in the machine. The next thing you know, your printer is building a replica of the Colosseum or the Space Shuttle.
 |
| The top, front, of the Challenger |
There are not too many of these babies on the road anymore, in part because 1970's American muscle cars, and the people who loved to drive them, were (to put it lightly) a bit high-strung. Just watch Vanishing Point (1971), for an example. That's Exactly why I wanted to add the Challenger to my (little) car collection ;)
Anyway, I looked at a few pre-made designs for the old Challenger on the Internet as well as numerous photos of the famed car, and got to work. I originally tried a small-sized version -about the size of a Hot Wheels (do they still have Hot Wheels?). It came out okay, but it was a bit disappointing. Details such as the mirrors, headlights, back mufflers, etc. either didn't come out, or broke off very easily. The big problem was that my modest machine has a very small build-plate, and limited area to create a bigger, more complex models.
 |
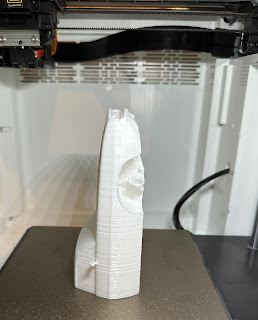
| The print |
I'm still very much a learner when it comes to 3D printing. Both my machine, and the free Creality Slicer application I use are entry-level. However, I have experimented with some much more complex SAAS paid applications which allow users to make much more complicated designs.
SelfCAD is a great web-based system that you can use to basically make anything; plus it's very reasonably priced... However, these types of systems require a bit of expertise. So, the amateur -like myself-, may want to consider the cost before going further than the basic slicing software.
No comments:
Post a Comment